
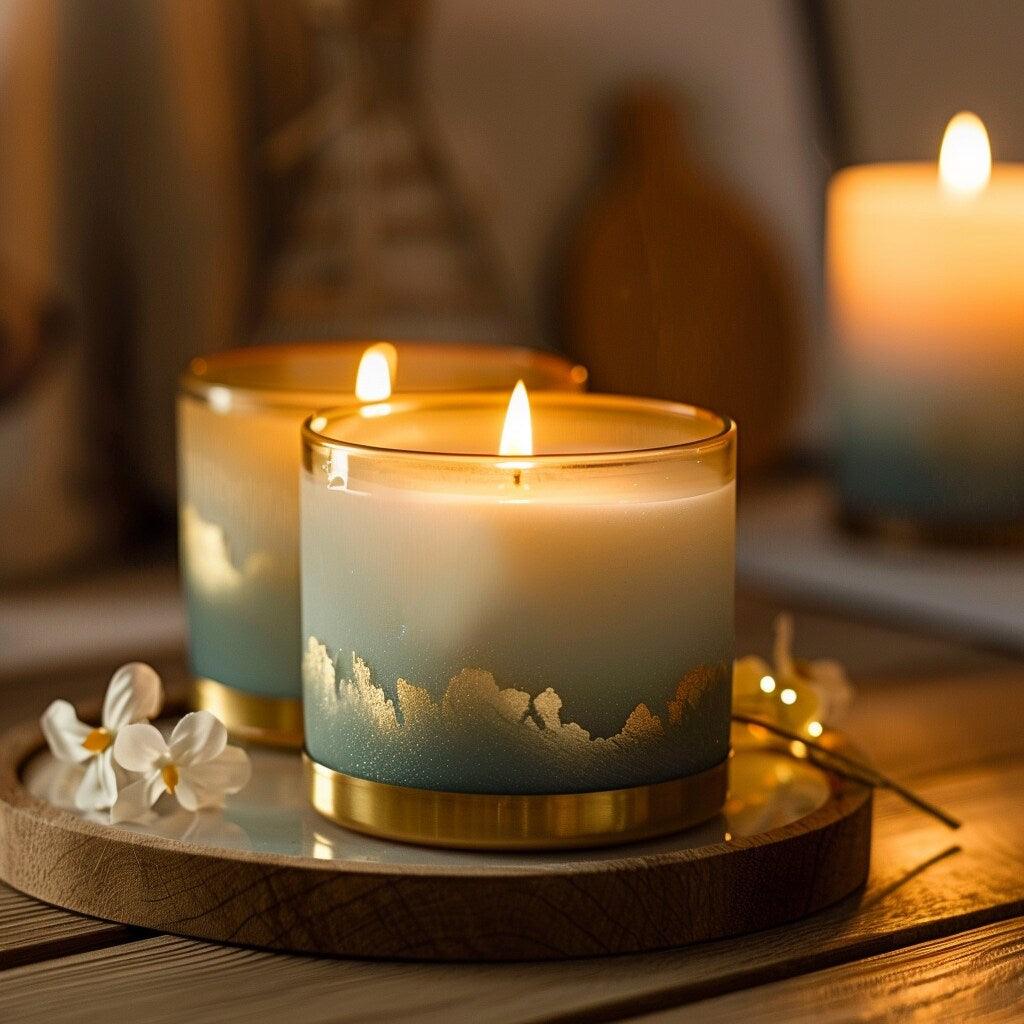
Candles aren't turning out perfectly? We're here to help with the candle-making process.
The process of making perfect candles can be challenging - here are some tips to help you.
Introduction
Candle making is a fun and simple activity, but achieving a high-quality finish requires a bit more understanding, patience, and experience. If you've made candles and encountered various problems, don't worry – we're here to help! In this guide, we'll explain how to deal with common candle-making issues, so you can produce high-quality candles with perfect burning and maximum scent throw.
Why do problems arise in candle making?
Most problems in candle making are caused by the same reasons: working temperature, wax composition, working surface, and environmental conditions. It's important to understand that using botanical waxes requires special attention, as they are natural materials with unique characteristics.
Making candles at the correct working temperature:
1. Pour Temperature
Pour temperature is a critical factor influencing the candle's texture, wax adhesion to the container, and preventing cracks. An important rule is that it's recommended to pour the wax at a temperature as close as possible to its melting point, to prevent extreme temperature differences that can cause distortions and unevenness.
2. Heating the Jar Before Pouring
When there's a significant difference between the wax temperature and the jar temperature, it can lead to problems like the wax separating from the container walls. Therefore, a slight heating of the jar before pouring can significantly improve the result.
3. Room Temperature and Candle Solidification
After pouring, the candle's solidification process takes several days. It's crucial to avoid placing candles in an environment with extreme temperature changes, strong airflow, or disturbances. It's recommended to let the candles cure for at least a week before use, and two to three weeks before lighting to ensure optimal scent throw.
Additional Tips for the Candle Making Process
1. Stirring the Wax Gently
Strong and aggressive stirring of the wax flakes can cause air bubbles to enter the mixture and create texture problems in the candle. Additionally, intensive stirring can accelerate the frosting process – the formation of white spots on the top layer of the candle. It is recommended to stir the wax gently for several minutes to achieve a uniform result.
2. Proper Wax Heating
Avoid overheating the wax. Heating the wax to a temperature higher than 85 degrees Celsius can damage its composition and affect the quality of the candle's burn and scent throw.
3. Choosing the Work Surface
The work surface you use for candle making significantly affects the cooling process. For example, surfaces with high thermal conductivity, like marble, cause the wax to cool quickly at the bottom, while the sides remain hot – which can lead to cracks and other problems. It is recommended to work on surfaces with low thermal conductivity, such as wood, to ensure uniform cooling of the candle.
Common Problems and Solutions
1. The candle doesn't emit a strong scent when burning
- Ensure you are using an appropriate percentage of fragrance oil (typically 6%-10% depending on the wax type).
- Allow the candle to cure for at least two weeks after making it to allow the scent to bind with the wax.
- Check that the wick you chose is suitable for the wax type and candle size – a wick that is too small will not create a wide enough melt pool for optimal scent throw.
- Slightly heating the jars before pouring can help.
- Pour the wax at a lower temperature to prevent extreme temperature changes.
- Use quality wax that includes additives to prevent excessive shrinkage.
- Check that the wax has not cooled too quickly – leave the candles in a stable place, at a controlled temperature.
- Do not put the candles in the refrigerator to speed up solidification – this can cause cracks.
- Gentle stirring of the wax before pouring can reduce crack formation.
- Check that the wick is suitable for the size and type of wax.
- Use quality wicks made from natural cotton.
- Trimming the wick to 5mm before each lighting will help prevent an excessively high flame.
2. Wax separation from the container (Wet Spots)
3. Cracks appearing on the top layer of the candle
4. Flame too high or candle producing black smoke
Summary
Making beautiful, high-quality candles requires an understanding of the work process, attention to temperatures, and patience. If you follow the recommendations in this guide, you can avoid common problems and create perfect candles with a flawless finish on both the top and sides, a candle with optimal scent throw and a stable burn. So, as we always recommend, tests, tests, and more tests. Find your comfortable working environment and get to work.
Therefore, don't rush – give your candle the time it needs, and most importantly – enjoy the process!
Good luck, Sheananda Team
Previous Article → [Fragrance Oils for Candles - How to Increase the Scent Throw of Your Candle?]
